Meaningful gifts
How do you make a piñata at home?
How to make a piñata at home: papier-mâché over a balloon or a cardboard box, drying time, filling ideas, a pull-string version for toddlers, and safety tips.
The short answer
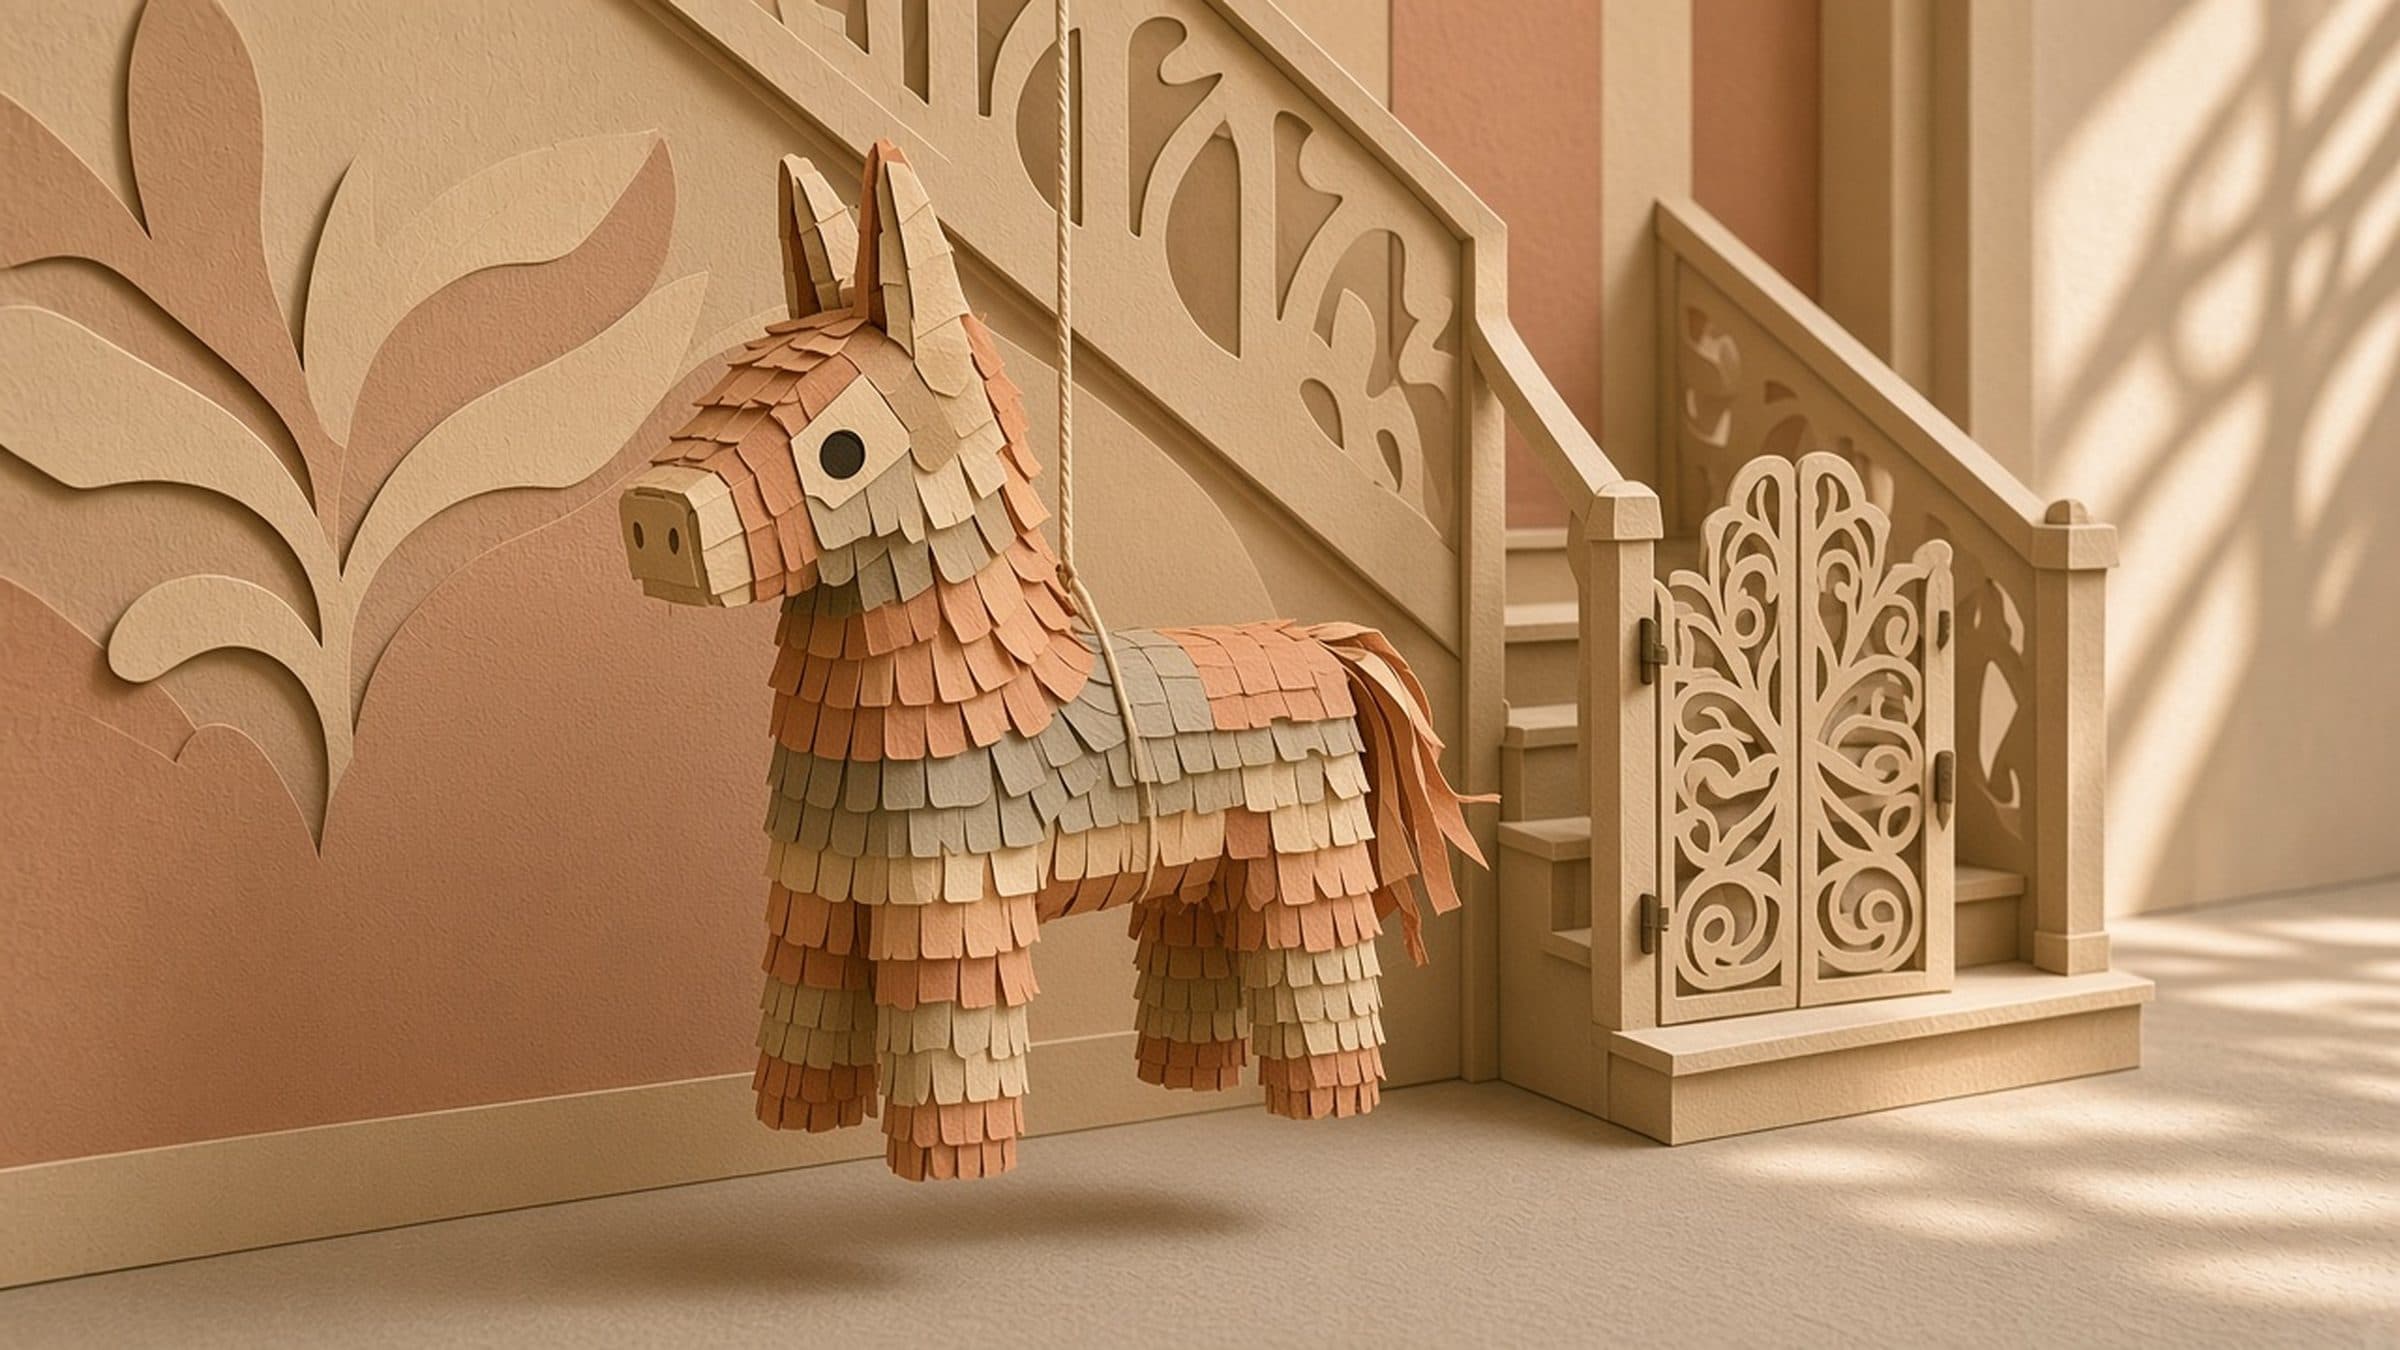
Cover an inflated balloon in three layers of newspaper strips dipped in flour-and-water paste, letting each layer dry. Pop the balloon, cut a door, fill, and decorate with fringed tissue paper. Or tape a cardboard box into a shape. Pull-string piñatas are safer for young children.
To make a piñata at home, cover an inflated balloon in newspaper strips dipped in a flour-and-water paste, build three layers with drying time between, pop and remove the balloon, cut a small door, fill it, and decorate it with fringed tissue paper. A cardboard box taped into a shape is faster. For children under 5, a pull-string version replaces swinging a stick.
Key takeaways
- Papier-mâché needs two to three days to dry; plan ahead.
- Three layers break with a few good hits; more makes it too strong.
- Pull-string piñatas suit toddlers and indoor parties.
- Clear a wide circle and swing one child at a time.
What you'll need
- A large round balloon.
- Newspaper torn into strips about 1 inch wide.
- Paste: 1 cup flour to 1 cup water, plus a spoon of salt to prevent mold. Or thinned white glue.
- Tissue paper or crepe paper in several colors.
- Glue stick or tape.
- String or twine.
- Scissors and a craft knife (adult only).
Step 1: Paper layers
Inflate the balloon and rest it in a bowl. Dip each strip in paste, pull it through two fingers to remove extra, and lay it flat on the balloon. Overlap strips and leave the knot bare. Cover the whole balloon once, then let it dry 12 to 24 hours. Repeat for a second and third layer.
Step 2: Open and hang
Pop the balloon through the knot hole and pull it out. Have an adult cut a flap about 3 inches square near the top. Poke two holes on either side of the top and thread strong twine through, knotted inside, for hanging.
Step 3: Shape
Add cones, cups or rolled cardboard for legs, horns or ears, attached with masking tape and one more layer of paper.
Step 4: Decorate
Cut tissue paper into strips 3 inches wide, snip a fringe along one long edge, and glue rows from the bottom up so each overlaps the last. Add eyes, spots or streamers.
Cardboard box version
Tape a cereal or shoe box closed, cut a door, and cover with fringed tissue. Stack boxes to make a number or a shape. Boxes are faster but harder to break, so cut a few slits on the bottom to weaken them.
Pull-string version
Instead of a stick, glue many ribbons to a weak paper flap on the bottom. Only one ribbon is attached to the flap; the rest are decoys. Children take turns pulling until the flap opens. This works well indoors and for toddlers.
Filling ideas
- Stickers, temporary tattoos and erasers.
- Small bouncy toys for older children only.
- Wrapped chocolates and lollipops.
- Mini notepads, crayons, hair clips.
- Coupons for "pick the next song" or "first slice of cake."
For guests under 3, avoid hard candy, gum, coins and small toys; these are choking hazards. Check for food allergies before filling with candy.
Safety for swinging
- Hang the piñata from a sturdy branch or beam with a pulley rope an adult controls.
- Clear a circle of at least 10 feet.
- One child at a time; everyone else stays behind a line.
- Use a plastic bat or a cardboard tube rather than a heavy stick.
- Youngest go first, often without a blindfold.
- Stop if anyone wanders in.
Collecting the loot
When it breaks, many children rush in. Give each child a bag and a few seconds' head start by age, or tip the treats out and share them evenly to avoid tears.
A timeline that works
Papier-mâché needs drying time, so plan backward from the party:
- Five to seven days before: blow up the balloon and add the first two layers.
- Four days before: add the third layer and let it dry overnight.
- Three days before: pop the balloon, cut the filling hole and attach the hanger.
- Two days before: add cones, ears or other shape pieces.
- One day before: cover it in tissue fringe and fill it.
Drying is slower in humid weather. If the shell still feels cool or soft, give it another night.
Letting kids help
Children ages 3 and up can tear newspaper strips, paint on paste with a brush, and stick down tissue fringe. Cutting fringe with safety scissors is good practice for 4- and 5-year-olds. Leave balloon popping, the filling hole and the hanger to an adult.
Keep spare paste covered in the fridge for up to two days so you don't have to mix a new batch for each layer.
A little history
Piñatas have roots in China and Europe and are closely tied to celebrations in Mexico, including the Christmas posadas, where the traditional shape has seven points.
Troubleshooting
It won't break. Let an adult weaken it with a few slits. It's soggy. Too much paste; dry it longer near a fan. Mold spots. Add salt to the paste next time.
When the candles are out, some families add a keepsake to the gifts: the birthday book, an illustrated story made from one photo that you approve before ordering.
A birthday gift idea: a first-year keepsake many families choose
Related reading:
Sources
- Choking Prevention for Children, HealthyChildren.org (American Academy of Pediatrics), accessed November 4, 2026
- Choking, KidsHealth (Nemours), accessed November 4, 2026