Story ideas
How do you help a child learn to ride a bike?
Fit a helmet, use traffic-free grass, size the bike so both feet touch, then glide before pedals. A story rehearses wobbles. It cannot replace a helmet.
The short answer
Start with the setup, not a pep talk. Fit a helmet every ride, including the first glides. Choose a traffic-free area and a softer surface like grass. Size the bike so both feet can touch the ground. Practice balance and gliding before pedaling, and do not set a deadline for dropping training wheels. A story can rehearse the wobbles. It cannot replace a helmet, supervision, or medical care after a real injury.
Key takeaways
- Setup first: a fitted helmet every ride, a traffic-free practice area, a softer surface, and a bike they can put both feet on.
- Balance and gliding come before pedaling. There is no deadline for dropping training wheels.
- Cheer the next try. Do not treat bravery as a substitute for a helmet or an adult nearby.
- A story can rehearse wobbles. It cannot replace supervision, safer practice, or medical care after a real injury.
How do you help a child learn to ride a bike?
Start with the setup, not a pep talk. Fit a helmet every ride — including the first wobbly glides. Pick a traffic-free practice area and a softer surface like grass. Size the bike so your child can sit on the seat and touch both feet to the ground. Practice balance and gliding before pedaling. Cue "eyes up ahead." Do not set a Saturday deadline for the training wheels to come off.
This page is the outdoor two-wheel job: helmet, space, bike size, and a practice sequence. It is not tying shoes, which is a fine-motor ladder at a table. It is not the big slide, which is a playground drop. It is not putting their face in the water, which still needs water supervision no matter how ready they feel.
The American Academy of Pediatrics says most children learn to ride a bike between ages 4 and 7, and that each child learns at their own pace. Most children learn a tricycle around age 3. Training wheels or bikes with no pedals can help with balance. Do not buy a larger bike for them to "grow into" (Biking).
Your job tonight is smaller than "make them ride." Check the helmet. Check the place. Check the bike. Then run one short practice. A story can rehearse the wobbles. It cannot replace a helmet, an adult nearby, or a safer practice area, and it cannot make them ride overnight.
How do you set up a safe first practice?
Change the place and the equipment before you change the child. Most of what parents blame on fear is actually a bike that is too big, a street with cars, or a helmet that sits on the back of the head.
The AAP's first bike-size rule is simple: choose a bike that lets the child sit on the seat and touch both feet on the ground. Standing over the bike, there should be only a few inches between the top center bar and the child's inner groin. When they are learning, the area should be free of traffic and distractions, without gravel, loose sand, or puddles. A softer surface like grass lowers the risk of an injury from falls. Stay on a designated bike path when you can. Do not practice in the dark or at twilight. Everyone on a bike or a tricycle wears a helmet, including the adult. The helmet should fit, the straps should be fastened, and it should meet U.S. Consumer Product Safety Commission standards. Closed-toe shoes with tied laces, bright clothing, and tight pant cuffs keep toes, visibility, and the chain safer. Knee, elbow, and wrist pads are useful for beginners (Biking).
CDC's bicycle-safety page is the same helmet rule from a second publisher: bicycle helmets reduce the risk of head and brain injuries in a crash, and every rider, at every age, can help protect themselves by wearing a properly fitted bicycle helmet every time they ride (Bicycle Safety).
A helmet still has a limit. CDC HEADS UP is explicit: there is no concussion-proof helmet, and a child should still avoid hits to the head even while wearing one. The helmet has to be well maintained, age-appropriate, certified for the activity, and worn correctly every ride (Safety Guidelines: Helmets).
Use that as a fitting checklist, not a vibe.
- Bring them with you when you buy the helmet. CDC's bike-helmet fact sheet starts there, because sizes vary by brand. Measure around the head just above the eyebrows and ears, then check that brand's chart (Bike Helmet Fact Sheet).
- Check the front pad. The bottom of the pad inside the front of the helmet should sit one or two finger widths above the eyebrows. The back should not touch the top of the neck. You should see their eyes, and they should see forward and side to side.
- Make a V, then a yawn. Side straps make a V under and slightly in front of the ears. The chin strap sits centered under the chin, snug enough that no more than one or two fingers fit between chin and strap. When they open their mouth wide, the helmet should pull down. Once the strap is fastened, the helmet should not slide front-to-back or side-to-side.
- Look for a CPSC label. The same fact sheet asks for a date of manufacture and a U.S. Consumer Product Safety Commission certification for bike use. Do not use a cracked helmet, a helmet missing padding, or a helmet that has already taken a serious impact — the foam can crush even when the shell still looks fine.
- Size the bike to the child you have today. Both feet on the ground from the seat. Not a bigger frame they will grow into later (Biking).
- Pick the place before you pick the pep talk. Traffic-free. Soft if you can. No gravel, loose sand, or puddles for the first sessions. An adult stays nearby — close enough to steady, not posed as a rescue.
If they later break a bone, that is a medical job, not a practice tweak. Take that to getting a cast and to their doctor.
What practice sequence actually works?
Do not start with "pedal hard and I'll let go." Start with balance in a place that already passed the checklist above.
The AAP names the first skill: training wheels or bikes with no pedals can help with balance when a child is learning to ride (Biking). That is the warrant for staying on balance longer than the neighborhood kids did. The glide-then-pedal order below is the practice sequence we use in stories and read-alouds. It is not a quote from that page.
- Helmet on before the bike moves. Including scoots and glides. "We're only practicing in the driveway" is not a reason to skip it.
- Find balance with the seat low enough that both feet reach. Scoot, then glide with feet up for a few seconds. Put the feet down on purpose. That is the win for this session.
- Add pedals after the glide feels boring. Not after one good Saturday. If the bike has training wheels, leave them on until the glide is steady, then raise or remove them on a day when nobody is late.
- Cue eyes up ahead, not down at the front wheel. Looking down pulls the bike with the eyes.
- Stop while they still want one more try. Two short glides that end on their feet beat a long session that ends in a fight.
- Keep the training-wheel deadline off the calendar. The AAP's pace line is the rule: each child learns at their own pace (Biking). A younger sibling who is already riding is not a schedule.
The same "change the setup, not the child" move shows up in other firsts. Tying shoes hands them the last step of the knot first. The first haircut previews the cape and the snip. Losing the first tooth treats the wiggle as a milestone, not a crisis. Bike riding still needs the helmet and the empty path those pages do not have to solve.
What do you say when they wobble or want to quit?
Talk after they are back on their feet, not while the bike is still tipping.
- Name the wobble as the job, not as proof they cannot do it. "The bike wobbled. That is what a first glide feels like. You put your feet down."
- Point at the next small step, not at riding down the block. "Next try is one more glide with your eyes up. Then we stop."
- Cheer the recovery. Feet down on purpose is skill. Getting back on after a tip is persistence. "You rode perfectly" is a false ending.
- Do not bargain with the helmet. "You're so brave you don't need it in the driveway" teaches the wrong rule. The AAP and CDC both put the helmet on every ride, including the adult's (Biking; Bicycle Safety).
- End the session yourself if fear is stacking. Three hard tips in ten minutes is a pile-up. Go inside. Try again another day, same setup.
Write down what you tried: where you practiced, whether the helmet stayed put, how many glides, and what they said. A vague "they're just scared of bikes" evaporates. A dated note is what you take to a clinician if fear starts running the week.
After a real fall, what is a story and what is medical care?
A story can preview a wobble. It cannot assess a head injury.
The AAP's biking page is the medical line, not a plot point. Some of the most severe bike injuries involve the head. If the child is not awake after a fall, call 911 or your local emergency number, hold the head and neck still, and do not move them until help arrives. If they are awake but have a headache, blurry vision, ringing in the ears, nausea, or dizziness, see a doctor right away — those can be signs of a serious head injury. Stomach pain, blood in the urine, or vomiting after a handlebar hit needs a doctor. Persistent groin pain, bleeding, or trouble urinating after a fall on the center bar needs a doctor. Before a child finishes growing, broken bones are more common than sprains; if they will not bear weight, the bone hurts when you push on it, or there is obvious deformity, they need an x-ray. Clean scrapes with soap and water; deep cuts or debris in the wound need a clinician (Biking).
Replace a helmet that took a crash even if the shell still looks intact (Bike Helmet Fact Sheet). Then, if a bone is broken, the next page is getting a cast and the treating clinician — not another read-aloud about being brave.
When does a story help, and when does learning to ride need more than a book?
A story helps the night before practice, as rehearsal. It does not help as a helmet, a closed street, or treatment.
Ordinary nerves before a first glide are common. CDC's children's mental-health page draws a different line: fears and worries are typical, and persistent or extreme fear that interferes with school, home, or play is the point to talk with a health care provider. The first step it names is a primary care provider or a mental-health specialist, not a picture book (Anxiety and Depression in Children). One wobbly Saturday is not that pattern. Refusing every bike, or letting bike fear take over ordinary days, might be. This page does not diagnose it.
The names below are invented for illustration. In a real personalized book the hero is your own child, built from your own photo.
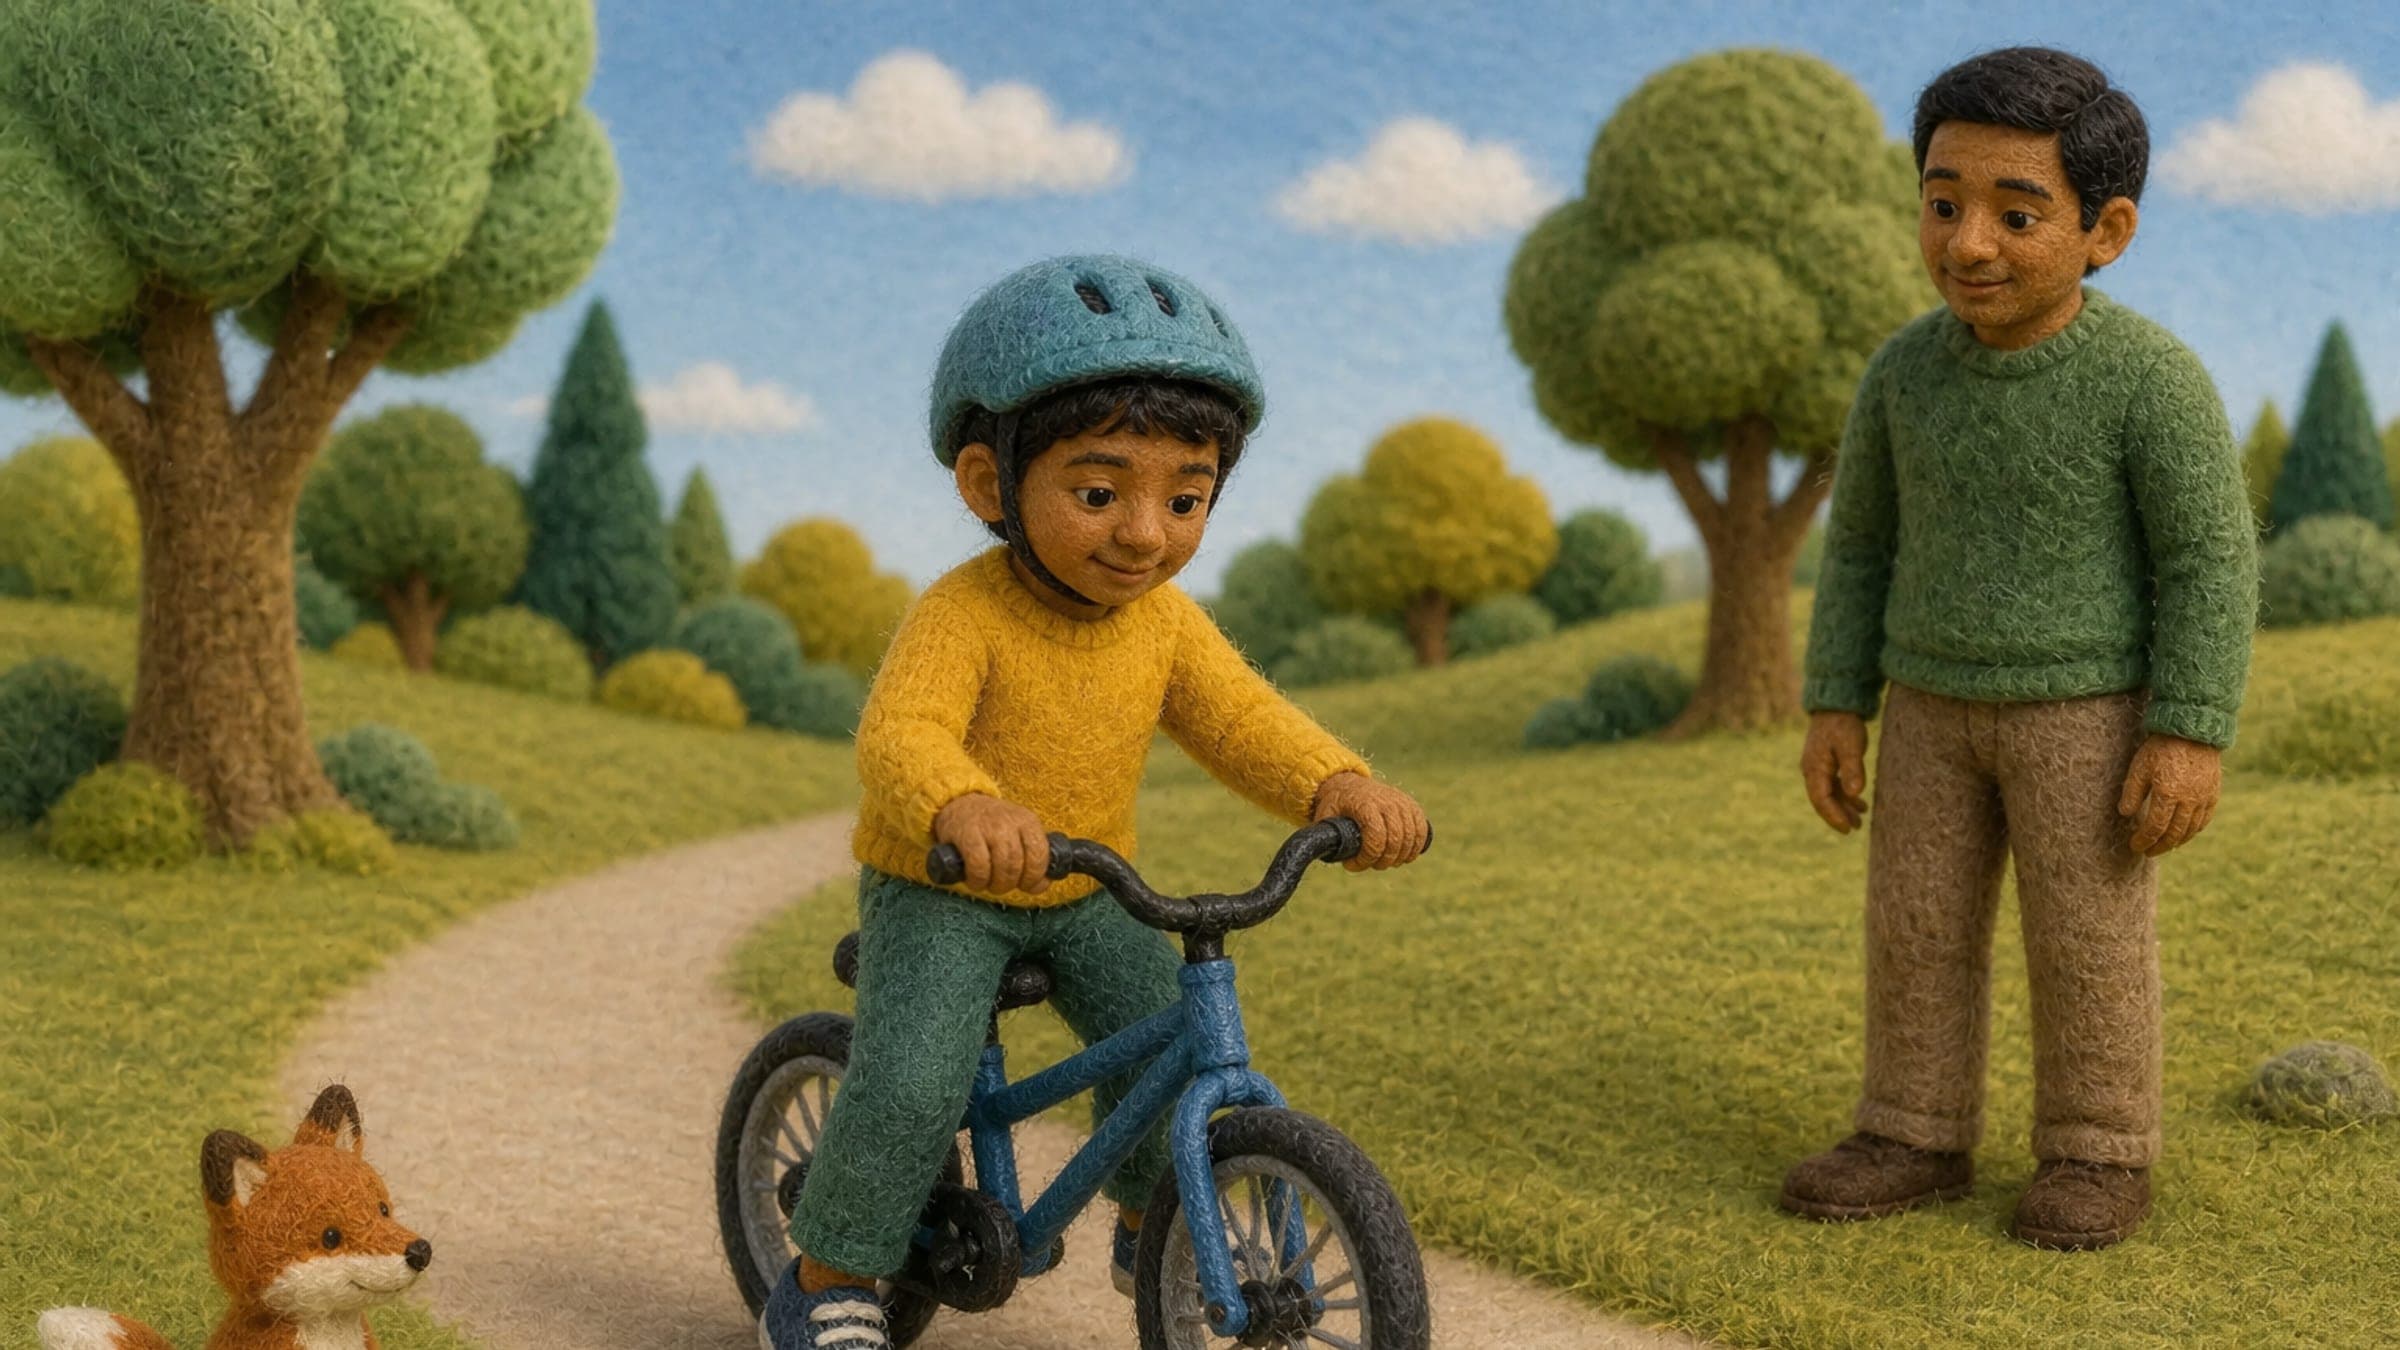
In the story, Arjun wants to glide down the empty park path. His stuffed fox, Pico, will not let the bike move until the helmet sits two fingers above his eyebrows and the chin strap passes the yawn test. The first pages are scoots and short glides with both feet ready. One wobble puts his feet down. The last page is not a perfect ride around the block. It is one more glide, eyes up, and the decision to try again tomorrow.
Then the read-aloud has a job outside the book: name the real place you will practice, put the real helmet on once, and say the next small step out loud before you close the cover. A story that ends at "and then he could ride" is entertainment. A story that hands them tomorrow's glide is preparation.
How the studio keeps the rehearsal specific
The Plot Outline step asks a plain question — "What should happen in the story?" — as a free-text box, with the guidance that a few sentences is plenty. That is where the real helmet, the real driveway or park path, and the real "feet down is allowed" ending go, in your child's words, rather than a generic "learns to ride" last page. The story requires you to name one Story hero. On the Story step you review the complete written story before illustrating the opening pages, and you can use edit mode if a promised overnight ride slipped in.
Do not write a last page where one practice makes them ride perfectly. Write a last page where they tried the next glide, with the helmet on.
For other everyday moments that can hold a rehearsal like this, see personalized story ideas in everyday family moments.
Keep reading: if the hard part is a fine-motor first rather than two wheels, start with learning to tie shoes.
More related guidance:
- Milestone Birthday Story: Help a Child Feel Proud of Growing Up
- A Baptism, Christening, or Dedication Keepsake Story
- A First Plane Ride? A Story That Turns Nerves Into Wonder
- First Faith Milestone: A Story for Ramadan or Communion
- Personalized Story Ideas Hidden in Everyday Family Moments