Story ideas
What age can a child safely start using scissors?
When kids are ready for scissors, how to hold them, the safety rules worth teaching first, and the step-by-step cutting ladder therapists actually use.
The short answer
Most children can start supervised scissor practice around age three, once they can grip with a mature pincer hold, sit balanced, and follow a simple safety rule. Begin with blunt-tip, spring-loaded training scissors, playdough, and straight snips before shapes. Stay within arm's reach every time, and treat a few wobbly cuts as normal, not a warning sign.
Key takeaways
- Most children are ready for supervised scissor practice around age three, not five.
- Readiness is about sitting balance, two-handed control, and hand strength, not age alone.
- Both thumbs point up: the cutting hand and the hand holding the paper.
- Teach the carrying and passing rule before the first cut, not after the first scare.
- Cutting develops as a ladder: snips, then straight lines, then corners, then curves, then shapes.
- Wobbly, off-line cuts are normal progress, not a sign to stop practicing.
What age can a child safely start using scissors?
Most children can start supervised scissor practice around age three. Pediatric milestone guidance lists using child-safe scissors as an expected skill for three- to four-year-olds, alongside drawing circles and copying squares (Developmental Milestones: 3 to 4 Year Olds). Readiness guidance from pediatric development specialists puts the window at roughly three to four years old, once a child has the hand strength and core stability to manage the tool (When Can My Child Use Scissors?).
That's a wide range on purpose. A child who is closer to two and a half may need more playdough and hole-punch practice first. One who is four and hesitant isn't behind, they just need lower-pressure reps.
How do you know a child is ready for scissors?
Age is a starting point, not a pass. Pediatric occupational therapy guidance lists the skills a child needs before scissors go well: good sitting balance, an emerging preferred hand, the ability to use both hands at the same time, the ability to isolate thumb, index and middle finger movements, and enough hand strength to control the tool (Learning to Use Scissors).
In practice, that means looking for four things before handing over even blunt-tip scissors:
- A mature pincer grasp. They can hold a crayon or fork between thumb and first two fingers instead of a fist.
- Balance and core strength to sit upright through a short task without needing a hand for support.
- A helper hand that participates. The non-dominant hand steadies the paper instead of sitting in their lap.
- They can hold and repeat one safety rule, like "scissors stay at the table" or "walk with scissors closed."
If any of those are missing, that's the actual practice target, not the cutting itself. Squeezing playdough, using tongs or tweezers to move pom-poms, threading beads, and posting coins into a slot all build the same hand strength and finger isolation without a blade involved (Learning to Use Scissors).
One thing not to worry about yet: a three-year-old who swaps hands mid-task isn't failing a readiness test. True hand dominance often isn't settled until around age five or six (How to Help Young Children Learn to Use Scissors). Encourage them to rest the preferred hand rather than switch when it tires (Learning to Use Scissors).
How should a child hold scissors?
Thumb up, always. The thumb goes in the smaller loop and points at the ceiling; the middle finger goes in the lower loop, with the index finger steadying the outside of it. That is a tripod grip, not the pincer grip they use for a pencil (How to Help Young Children Learn to Use Scissors).
The hand not holding the scissors matters just as much. It should hold the paper with the thumb up too, so both hands work in the same orientation. A trick worth stealing: draw a small smiley face on each thumbnail, so "both smileys face up" becomes the whole instruction (How to Help Young Children Learn to Use Scissors).
Two more positioning details that quietly fix most bad cutting:
- Elbows stay close to the body, not flapping out to the sides.
- The paper turns, not the scissors. The helper hand feeds and rotates the sheet while the cutting hand keeps opening and closing in place.
If the scissors keep sliding upside down or the wrist rolls over, stop and reset the grip rather than letting them finish the cut. A rehearsed wrong grip is harder to undo later than a short session.
What are the scissor safety rules for kids?
Teach the handling rules before the first cut, while nothing has gone wrong yet and there's no adrenaline in the room. Four rules cover nearly everything:
- Cutting happens sitting down, at one spot. Pick a single well-lit, clear, flat surface and make it the only place scissors are allowed. A child walking around the house with open blades is the actual risk, not the cutting itself.
- Walk with the blades closed and pointed down. Closed fist around the closed blades, points toward the floor.
- Pass them handle-first. You hold the closed blades; the other person takes the handles. Practice this a few times as a game before it's ever needed for real.
- Scissors go back when the job is done. One container, out of reach between sessions, so the tool isn't available unsupervised.
Safe carrying and passing are skills that need rehearsal like any other, not a warning delivered once (How to Help Young Children Learn to Use Scissors). And stay within arm's reach the whole time a young child is cutting — supervision is the rule those first sessions are built on (How to Help Young Children Learn to Use Scissors).
What kind of scissors should a beginner use?
Start with blunt-tip training scissors sized for a child's hand. Beyond that, the two things most parents miss:
- Handedness is not cosmetic. Child scissors come in left- and right-handed versions, and a child should use the ones that match their hand. Left-handed blades are reversed so the cutting line stays visible; a lefty using right-handed scissors is fighting the tool, not lacking the skill (Learning to Use Scissors).
- Spring-loaded scissors are for grip strength, not for cheating. The spring reopens the blades automatically, which is specifically recommended for children who need support opening the scissors (Learning to Use Scissors). If a child can close the blades but can't reopen them, that's the tool to reach for.
Occupational therapists also use easy-grip and long-loop scissors for reduced hand strength or poor motor control, dual-control training scissors that let an adult guide the cut, and mounted tabletop scissors for one-handed use (Learning to Use Scissors). Most families never need these — but if standard scissors are genuinely inaccessible for your child, purpose-built options exist and are worth asking about.
What is the safest way to teach scissor skills?
Skip straight to cutting out shapes and most kids either can't manage it or lose interest fast. Cutting develops as a ladder, and occupational therapy guidance sequences it in five steps — each one practiced until the child is confident before moving up (Learning to Use Scissors):
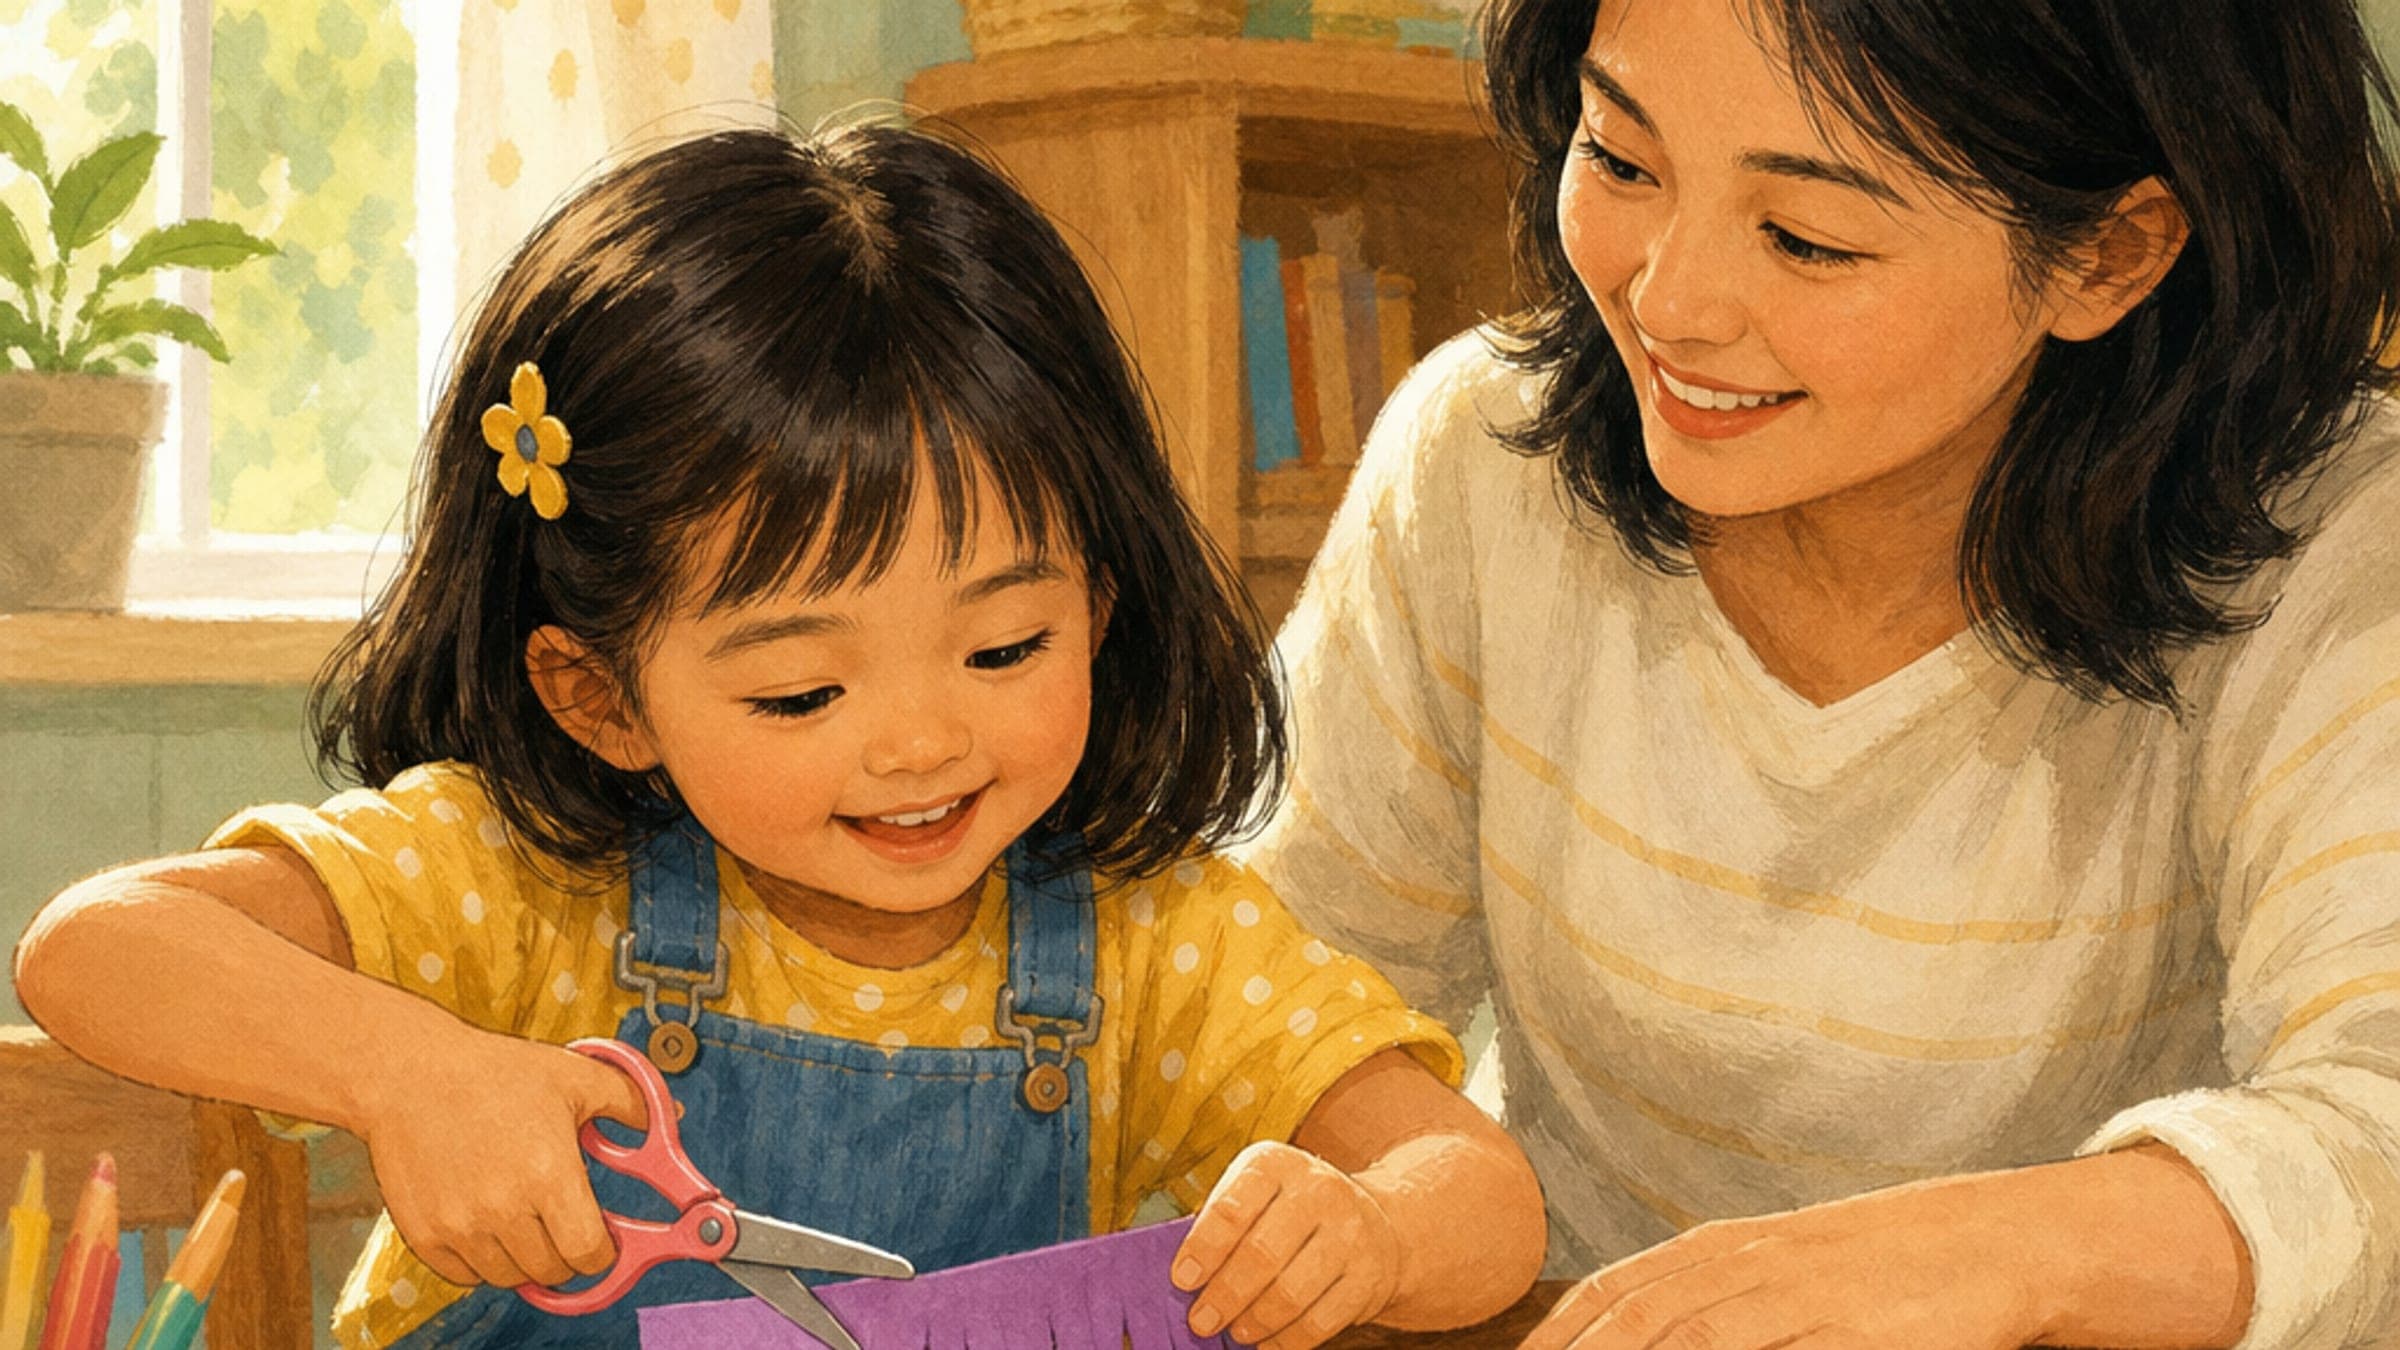
- Random snips on the edge of the paper. Just opening and closing the blades. Heavier paper is easier to start on, because it doesn't fold away from the blade. Cut playdough strips, cut up straws, or fringe the edge of a paper plate into a lion's mane.
- Straight lines all the way across. Move from snipping to travelling across the sheet. If you draw a guide line, start thick and short and narrow it over time. Cut paper strips for paper chains or weaving.
- Corners and changes of direction. Zigzag lines first, again thick before thin, then simple angular shapes — a square, a triangle, a house.
- Curves. Wavy lines, then circles of different sizes. Turn them into faces, a caterpillar, or a snake mobile.
- Shapes and pictures. Cutting out images from magazines or greetings cards, where the line is irregular and unforgiving.
The order matters more than the pace. Curves and shapes need more hand-eye coordination than most three-year-olds have yet, so a child stuck at step four hasn't stalled — they're where the ladder says they should be.
Two things to hold steady throughout: keep the helper hand on the paper, and stay within arm's reach every single session.
Treat wobbly, off-line cuts as exactly what they are: the expected middle of learning a two-handed coordination skill, not a reason to take the scissors away.
How does a personalized story help a child stick with a hard new skill?
Scissors are a skill kids often quit after one frustrating try, because the failure is loud and immediate: the paper tears wrong, the cut goes crooked, and a three-year-old reads that as "I can't," not "I'm still learning." What helps isn't more encouragement in the moment, it's proof, stored somewhere they can revisit, that sticking with something wobbly leads to a real result.
That's the actual job a personalized book can do here. When your child is the one on the page, snipping fringe into cardstock, missing the line, and getting a proud, crooked cut anyway, the message lands differently than a pep talk does. Similar to how learning to tie shoes or learning to write their name go more smoothly with a chantable method and a story to point back to, scissors practice sticks better when the wobble is part of the plot instead of a problem to hide. It's the same persistence muscle used for getting dressed independently: normalize the fumble, keep sessions short, and let the small win be the whole point.
Everyday skills like this one belong on the same list as first bike rides and first sleepovers. For more ways to spot a story hiding in an ordinary week, see Personalized Story Ideas Hidden in Everyday Family Moments.
More related guidance:
- What to Do With Anger: A Story About Safe Choices
- Losing a Game: A Story About Handling Disappointment
- Standing Up for Someone: A Safe Upstander Story
- Telling the Truth After a Lie? A Story That Makes Honesty Feel Safe
- Personalized Story Ideas Hidden in Everyday Family Moments